
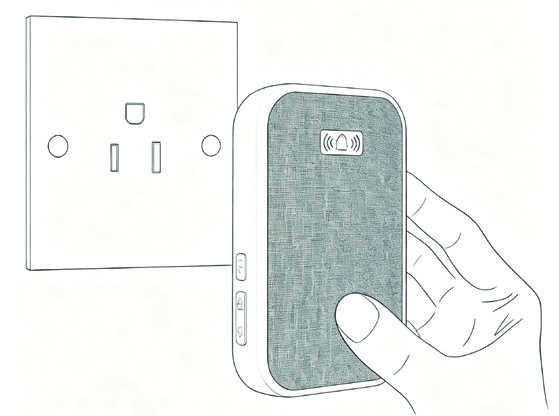
Smart Wi-Fi Chime Pro
Quick Start Guide
Set up your Chime Pro with a Google Nest Doorbell in just a few minutes. Follow the steps in order — each one unlocks the next.
Before You Begin
Preparation
Make sure both apps are installed and your doorbell is already added to Google Home.
Google Home App
- Ensure the latest version is installed
- Your Nest Doorbell is already added to Google Home
SmartLife App
- Install "SmartLife - Smart Living"
- Log in to your account

Get SmartLife faster
Scan the QR code or search "SmartLife - Smart Living" in the App Store / Google Play.
Quick Notes
Follow steps in orderDo not skip stepsEach step unlocks the next
Setup Roadmap
Two Phases, Five Steps
The whole setup is split into two phases. Complete Phase 1 before moving to Phase 2.
Phase 1
SmartLife App
Add the chime, enable alert modes, then link SmartLife to Google.
1.1 Add Chime1.2 Enable Alerts1.3 Link Google
Phase 2
Google Home App
Create a Household Routine so your doorbell rings the chime.
2.1 Automation2.2 Doorbell Alerts
Phase 1
Set Up in SmartLife App
Start by connecting your chime to Wi-Fi and preparing it for Google Home.
1.1
Add Chime to SmartLife
Power on & pair
- Plug in the chime.
- Press and hold the Volume Button for 5 seconds.
- Wait until it beeps and flashes red.
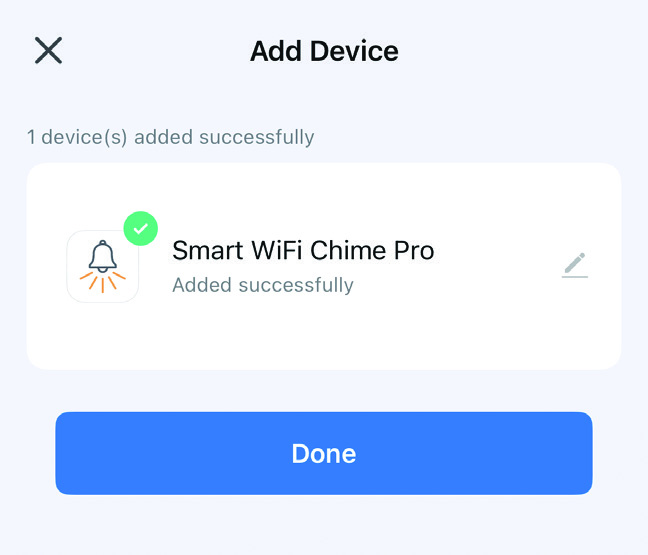
Tap + (top right)
Tap Add Device
Tap Smart WiFi Chime Pro
Enter your Wi-Fi password
Tap Done
1.2
Enable Chime Alert Modes
Create scenes for Google Home
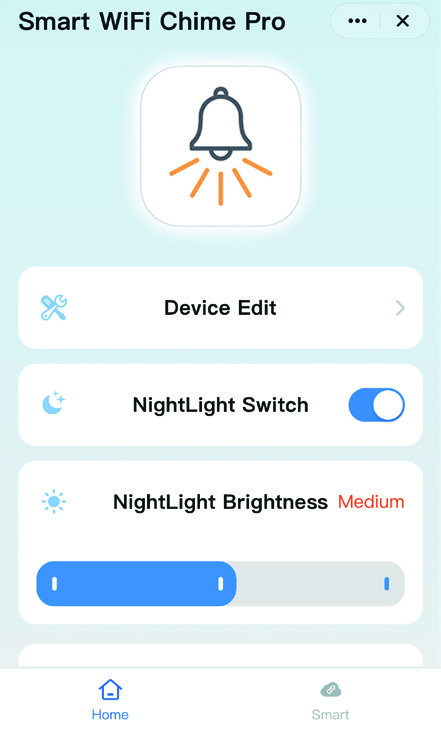
- Tap your chime on the home screen.
- Tap Smart (bottom bar).
- Enable Alert Modes.
If using multiple chimes, give each Alert Mode a unique name.
1.3
Link SmartLife to Google
Authorize Google Assistant access
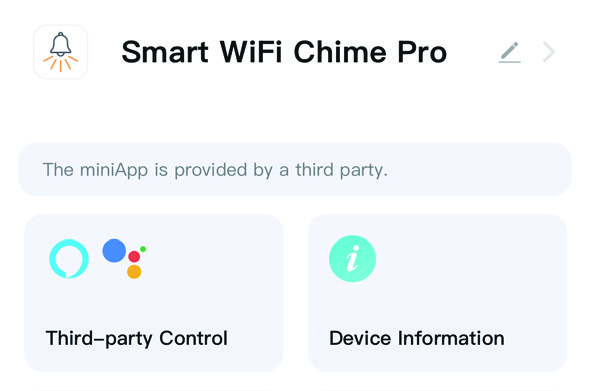
- Tap your chime on the home screen.
- Tap ••• (top right).
- Tap Third-party Control.
- Select Google Assistant.
- Tap Link to Google and follow the on-screen prompts.
Phase 2
Set Up in Google Home
Build a Household Routine that rings the chime whenever the doorbell is pressed.
2.1
Select a Household Automation
Google Home has different automation types
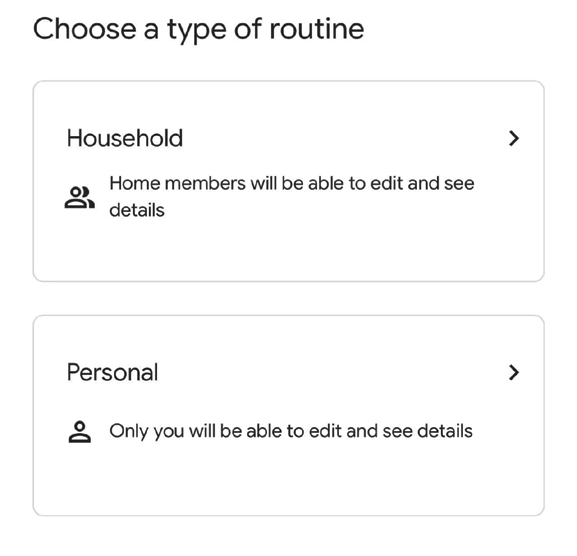
Choose the option that matches your app. Be sure to select "Household" Routine.
Household Routine
- Tap + (top right).
- Select Automation.
- Select Household Routine.
2.2
Set Up Doorbell Alerts
Trigger → Action → Save
1
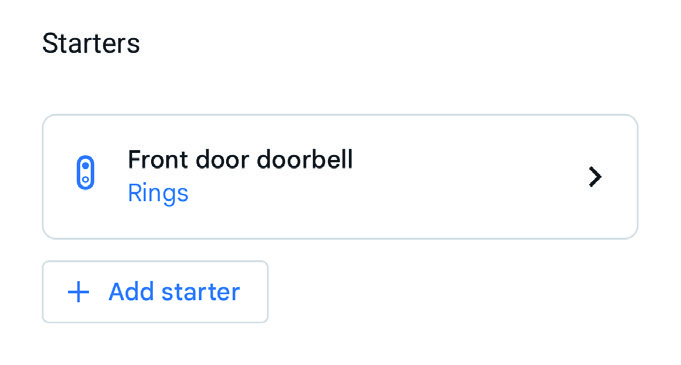
Add Doorbell Trigger
- Tap + Add Starter
- Select When a device does something
- Choose your Nest doorbell
- Select Doorbell rings
2
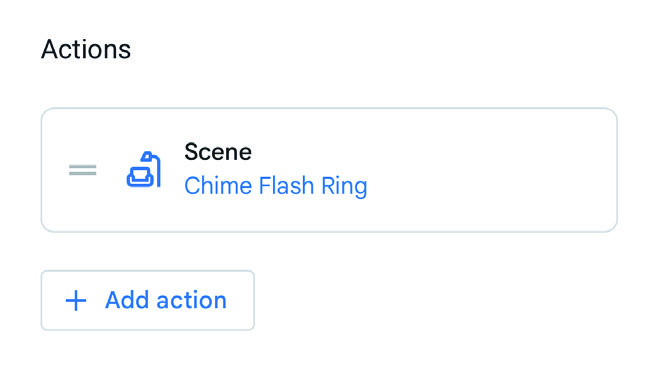
Add Chime Action
- Tap + Add Action
- Select Adjust Home Devices
- Choose Add scenes
- Select the Alert Mode Scene you need
3
Save Your Routine
- Tap ✎ to name your routine
- Tap Save (bottom-right)
Setup Complete!
Your Smart Wi-Fi Chime Pro should now ring whenever your Google Nest Doorbell is pressed.
Need help?Problem Solving
Chime Not Working?
Follow these 3 quick checks to get your chime back online.
1
Check Google Home Automation
- The Automation is enabled
- Starter is set to your active doorbell
- The Action is your Chime Alert Mode
2
Check Chime Connection
- The Chime is connected to Wi-Fi
- The Chime Alert Mode works in SmartLife
3
Check SmartLife Connection
- SmartLife is linked to Google Home
- Path: Google Home → + → Link app or service → Works with Google → SmartLife
- Make sure it shows "Linked"